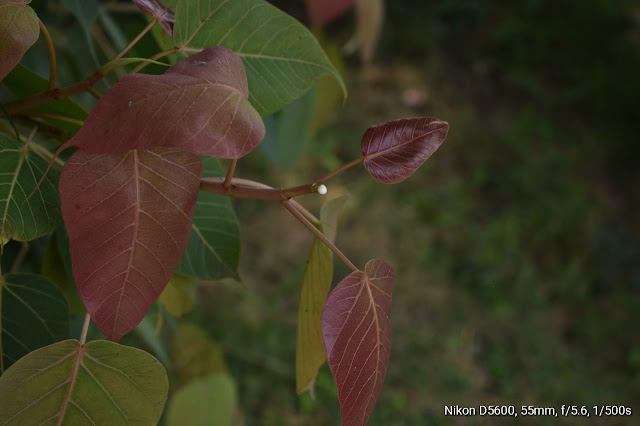
Nature Photography Edit Photoshop- Photographer Choices
How to Edit Nature Photographs in Photoshop-
1. Select the image you want to edit-
Bring photographs you want to work on it. I introduce a layer of black or darkness, then brush away the darkness. Some of these adjustments include using exposure, contrast, saturation, vibrancy, clarity, sharpening, white, black, shadows, and highlight sliders.
2. Open Levels-
Go to the menu Open levels or press Ctrl+L from keyboard and adjust the light and color.
4. Enhance the color of the image-
To select each color and increase and decrease color intensity on each color. The difference is shown below.
5. For Quick edit implement the following-
The Smart fix (Auto button) applies general corrections for color balance. This fix also enhances shadows and highlights, if needed. You can also drag the slider to manually apply to Smart Fix.
The Lighting (Levels Auto button) automatically adjusts the shadows and highlights to improve the image. Click the Contrast Auto button to automatically improve image contrast. If the changes are not to your liking, you can manually adjust the lighting by dragging the Shadows, Highlights, or Midtone sliders. Click the checkmark to apply your edits.
Click the Color Auto button to automatically adjust the color tones in the image. If you aren’t happy with the results, drag the Saturation slider to the right to increase image saturation, or drag it to the left to decrease saturation. However, when you change saturation, you change all colors and hues. If you increase saturation, you end up with unrealistic skin tones if there are any people in the image you’re editing.
The Color Balance setting adjusts the white balance of the image. Drag the temperature slider left to cool the colors in the image, or drag it right to warm the colors. When you cool the colors, they have more of a bluish cast; when you warm the colors in the image, they have an orange cast.


Comments
Post a Comment