Nature Photography DSLR Setting - Photographer Choices
Nature photography DSLR Settings-

DSLR Camera settings for Nature Photography-
ISO - 100 to 200
Shoot Mood - Manual priority
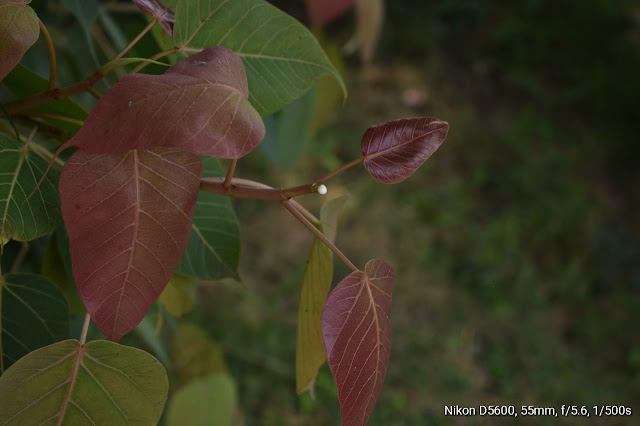
Sutter Speed - 1/500s
Aperture - f/5.6
Autofocus point - Single autofocus point
Metering Mode - Evaluative
Focal Lenth - 18mm -35mm
VR sensor - ON
Image Stabilization- ON
ISO:-
I always use the camera ISO is 100 to 200. If you increase the sensitivity of your camera’s sensor to light, you also increase its sensitivity to noise. The higher the ISO setting the more noise will become in your photos. So try to take photos up to 200 ISO settings.
Shutter Speed:-
The amount of time your shutter is open. It put the greatest effect on motion blur. Fast shutter speeds tend to freeze motion, it depends on how fast the subject is traveling and how far you are from the subject. While slower speeds will blur movement.
Aperture:-
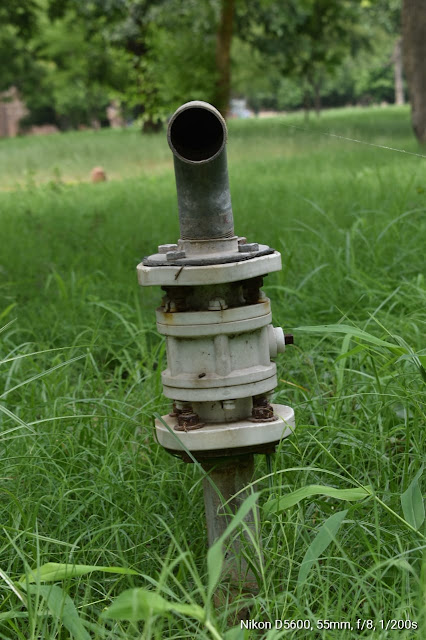
The size of the aperture determines the depth of field in your image. Large apertures will result in a shallower depth of field. when you want to control how much is in focus in front of and behind your subject, which is depth of field. It is useful when you’re shooting portraits or any other subject and you don’t want anything but the subject in sharp focus. Use a small aperture (large f-stop number) when you want a large depth of field. A large depth of field is useful when you’re photographing landscapes and you want everything in the image to be in focus.
Metering Modes:-
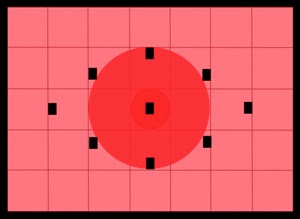
The metering mode determines which areas of the frame are used by the camera to measure the subject. Metering is used to measure the brightness of the subject. Normally the camera uses matrix metering. Choosing a metering method according to your need.
Matrix Metering ensures a balance between light and dark areas. you can show in the viewfinder red circle represents the center metering area.
Center-weighted Metering exposure is set correctly for the center of the frame.you can show in the viewfinder Red circle represents the center metering area.
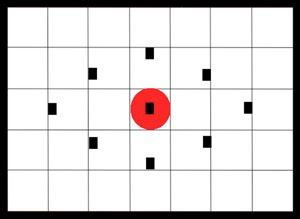
Spot Metering exposure is set correctly for the portrait subject at the selected focus point. in the spot metering, you can move the redpoint to focus on subject.
Shoot Modes:-
One of the best ways to facilitate being ready for the shot is to select the right exposure mode. It’s not difficult to determine the most likely set in a given situation.Let me first say that any serious photographer should understand exposure and be able to select the proper settings manually. Next, I’m going to come right out and say that there’s absolutely no reason not to use your camera’s auto-exposure modes, at least the two most versatile, Aperture Priority and Shutter Priority.
Aperture Priority mode requires you to select the ISO setting and aperture size and lets the camera software adjust the shutter speed to achieve the “correct” exposure.
Shutter Priority mode gives you control over the ISO setting and the shutter speed, and the camera adjusts the lens aperture. If you’re shooting animals, this may be the best choice.
Manual Priority (M) is the best option to shoot the photo. you can adjust when the light is very low or high according to you. A visual exposure meter to help you determine the “correct” exposure.
Focus Settings:-
The focal length of the lens you use determines how the camera records the scene. A short focal length includes a wide view of the scene, which is why a lens with a short focal length is a wide-angle lens. Wide-angle lenses cover focal lengths from 12mm. You can zoom in on your subject to focus on a small area, or zoom out for the big picture
Other Settings:-
There are lots of settings that could be discussed when it comes to shooting nature, but there are also several choices for most of them.RAW vs. JPEG:-
White Balance:-
Obviously, this can change when the lighting changes. Set to Daylight when you are going out capturing Nature photography.
Continuous Shutter:-
This isn’t the right choice for everyone If leaving your shutter in Continuous. It helps you capture just the right moment in many nature shots. But it consumes storage space and battery very quickly.
How much you like my post comment me for better updates...
Thank you!


Comments
Post a Comment